
Build Journey
Use Lead Journey to map the stages of a lead’s progress and attach actions to specific stages. Each journey and stage can be customized for the process you want to manage.
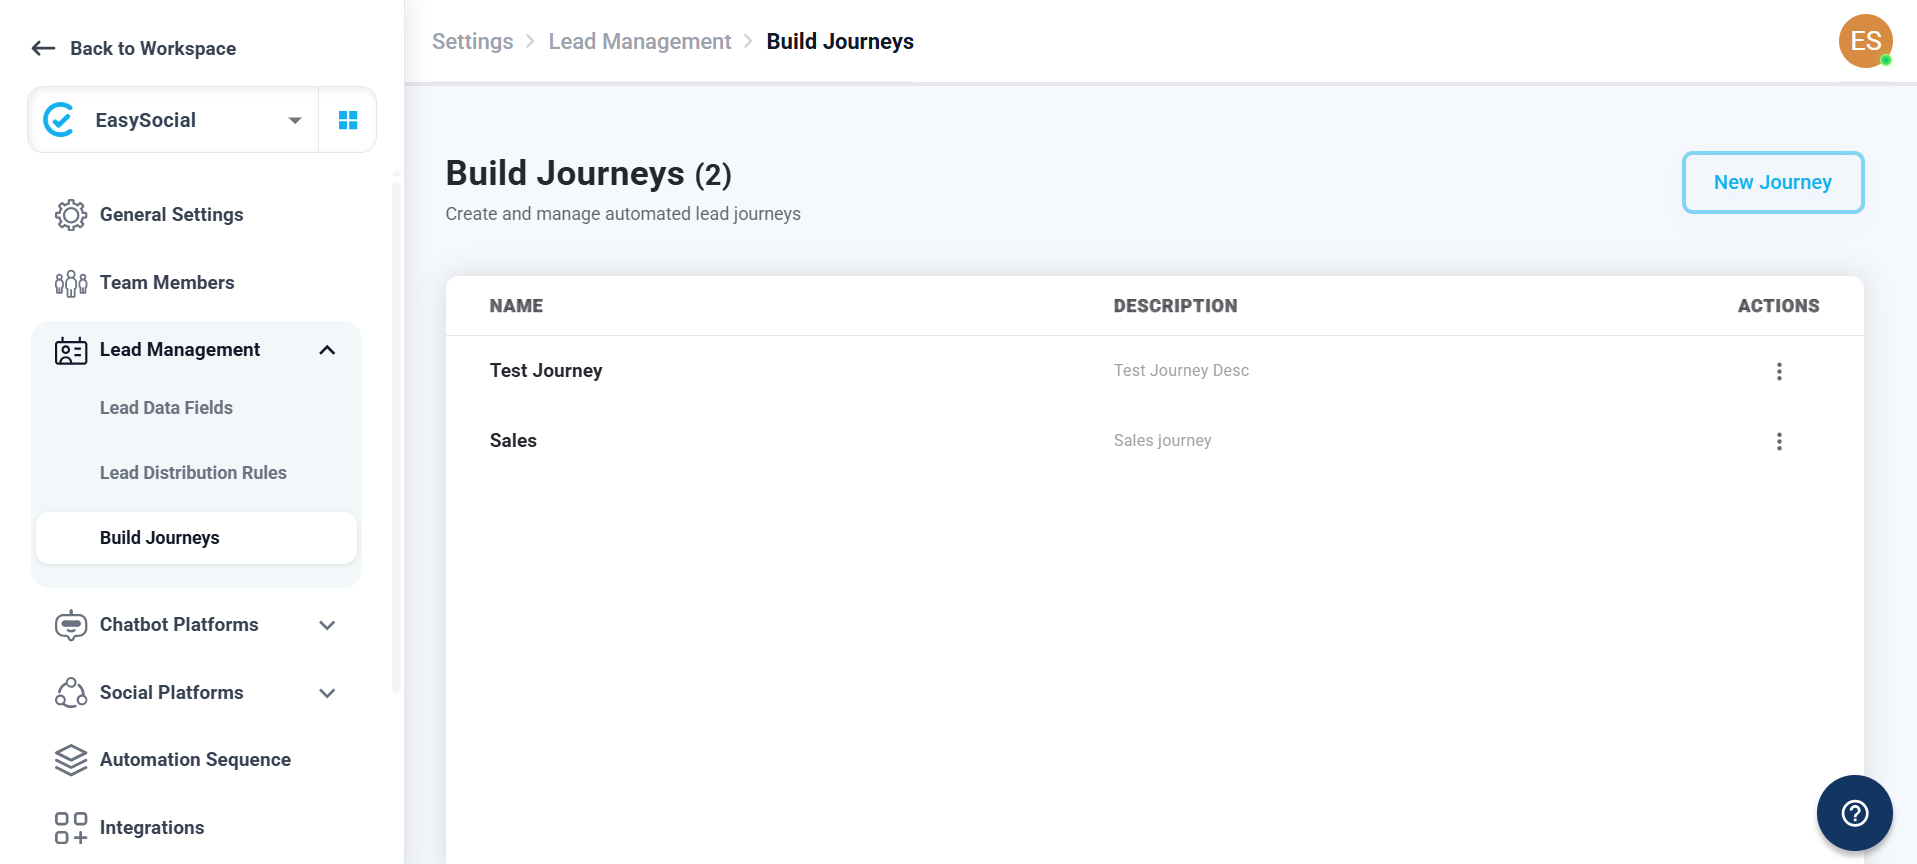
Journey list
The Build Journeys page lists the journey name, description, and available actions. Select New Journey to create a journey. A journey’s action menu provides Edit and Delete.
Create a journey
| Field or control | What to configure |
|---|---|
| Journey Name | Enter the journey name. This field is required. |
| Description | Enter a short description of the journey. |
| Journey Color | Choose a color for the journey using the color control and displayed hex value. |
| Next | Continue to stage setup. |
Configure stages
Add one or more stages to describe the lead journey. Each stage has a required Stage Name. Use Add Stage to add another stage, Back to return to journey details, and Save to save the completed journey.
| Stage setting | Available options |
|---|---|
| Advanced | Expands the stage’s automation, color, and behavior settings. |
| Automation | Automation Sequence, Assign Member, Send Notifications, or CAPI. |
| Stage Color | Choose a color and review its hex value. |
| Behaviour | None, Qualified, or Disqualified. |
Stage automation
| Automation | Configuration available |
|---|---|
| Automation Sequence | Select an automation sequence that has already been created. If you do not have one, create it from the Automation Sequence tab in Settings first. You can use different template messages at different stages; the message is sent when you manually activate the related stage. |
| Assign Member | Assign a team member to a specific stage. When you manually activate that stage, the selected member is assigned automatically. You can choose By Team or By Member. |
| Send Notifications | Send an email when you manually activate a specific stage. Select recipients By Team or By Role. Role options are Owner, Admin, Department Head, Team Head, and Team Member. |
| CAPI | Send the lead’s progress at this stage to Meta as an ad signal. Configure the event, action source, user data, and custom data for the CAPI node. |
Conversions API (CAPI)
To configure CAPI events and step-level lead signals, see the dedicated CAPI documentation.
Complete the journey and stage details before saving. If an automation or CAPI option does not work as expected, contact EasySocial Support.